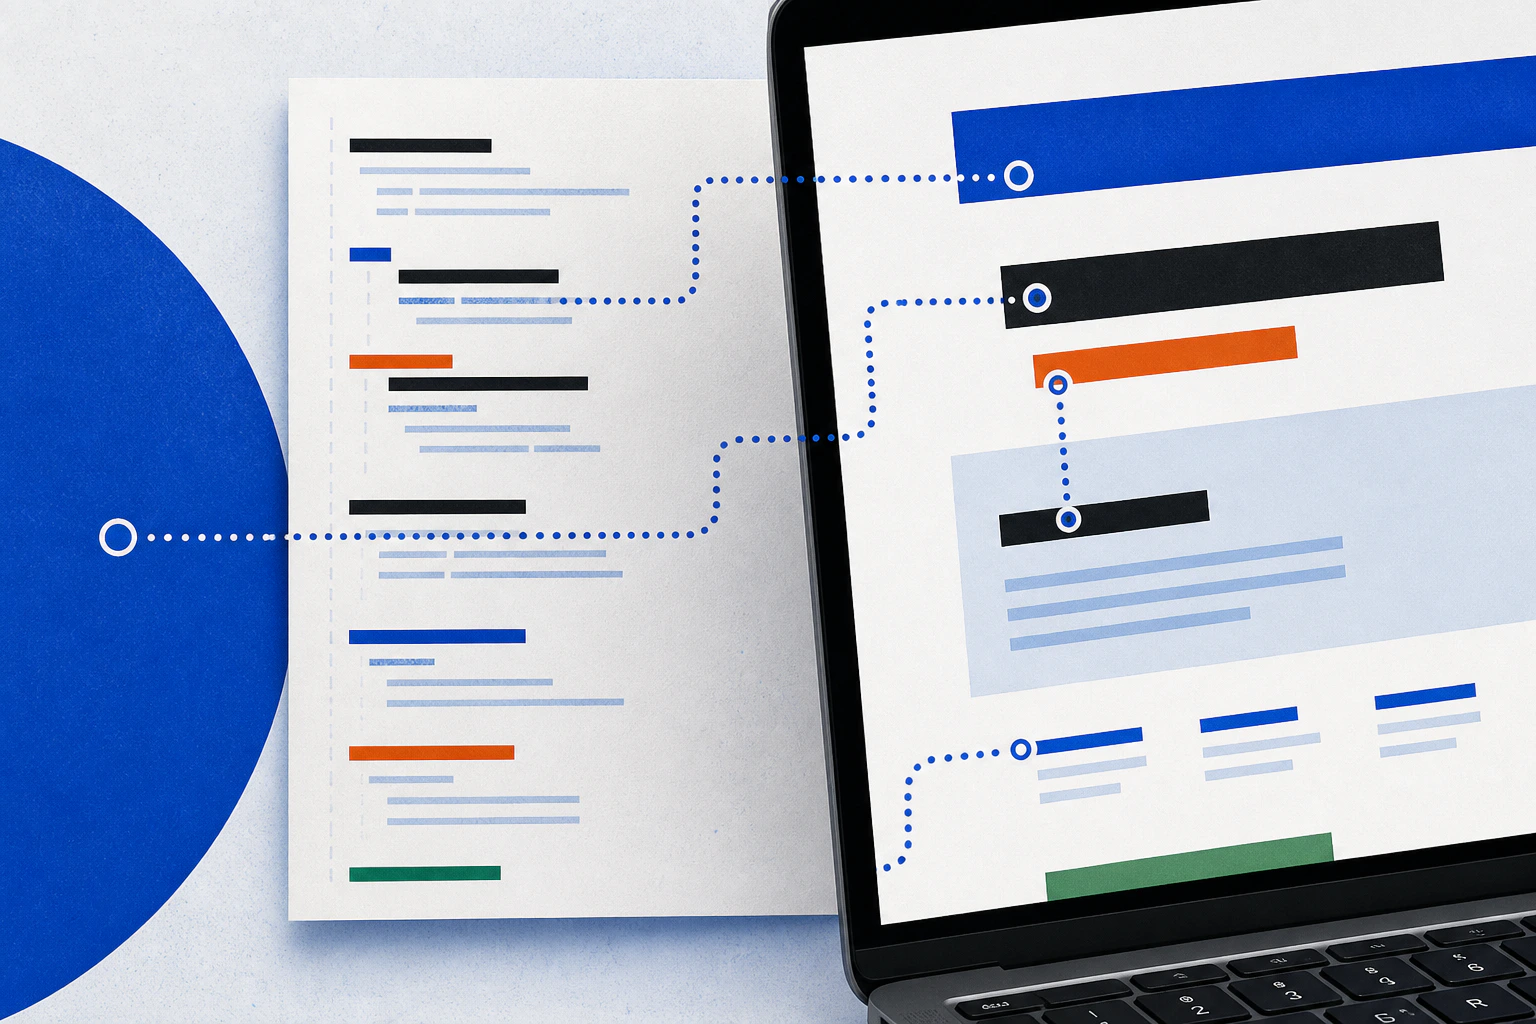

To build a website with AI, start with a business brief rather than a prompt. Plan the pages and customer journey, prepare accurate source material, choose an AI workflow that suits the owner, generate a first version and then review the result as a real website. That review must cover content, mobile use, accessibility, crawlability, security, forms, analytics and maintenance before the domain goes live.
AI is most useful as a production assistant. It can propose a structure, draft copy, generate design directions, write code and identify defects. It should not be the unaccountable owner of claims, personal data or deployment credentials.
How to build a website with AI in 12 steps
Define the goal and audience. Name the customer, their problem and the main action the website should support.
Plan the pages and navigation. Create a small information architecture before generating layouts.
Write the messaging and proof. Give the system accurate facts, examples and constraints.
Choose an AI website workflow. Select a hosted builder, assisted coding route or managed service.
Generate the first working version. Use a structured prompt and keep placeholders visible.
Add approved images and brand assets. Check rights, consistency, dimensions and alternative text.
Fix accessibility and responsive behaviour. Test real interactions at mobile and desktop widths.
Make every public page crawlable. Check rendered content, links, metadata, status codes and sitemaps.
Secure accounts, forms and secrets. Keep private keys on the server and reduce access.
Connect hosting, domain, forms and analytics. Complete the operational path, not just the page design.
Run complete pre-launch QA. Test content, devices, browsers, performance and recovery.
Launch, monitor and maintain the site. Verify production, watch errors and schedule reviews.
This process is deliberately longer than “describe your business and press publish”. Generation is one step. The surrounding decisions are what turn the output into a website a customer can trust.

Step 1: define the website goal and audience
Write one sentence that describes the commercial job. “Help homeowners in Bristol understand our electrical services and request a quote” is more useful than “create a modern electrician website”. The first version names an audience, a need and an action.
Record the practical constraints:
services, products or information the site must cover;
locations the business genuinely serves;
the main call, enquiry, booking or buying action;
approved claims, qualifications and evidence;
regulated or sensitive information;
languages, accessibility needs and launch date;
who will approve and maintain the result.
Give the AI system this brief as source material. Do not ask it to infer qualifications, testimonials or commercial terms. If a fact is unknown, require an obvious placeholder such as “APPROVAL NEEDED” rather than plausible filler.
Step 2: plan pages, navigation and internal links
Create the smallest page set that explains the offer and supports the goal. A local service business might begin with Home, Services, individual high-value service pages, About, Work or Examples, Contact and essential policy pages. A shop needs product categories, products, delivery, returns and support information as well.
Sketch the relationships before building. Every important page should be reachable through an ordinary link. A service page can link to a relevant example and contact route; a useful article can link to the service it supports. Navigation is an information system, not a row of labels chosen after generation.
Use clear URL paths that can survive a redesign. /services/rewiring/ communicates more than a generated ID or a fragment route. Avoid creating several near-identical pages simply because the tool makes page production easy.
Step 3: create the messaging, copy and proof
AI writes better first drafts when it receives approved information and a defined reader. Supply the offer, process, exclusions, service area, prices or pricing method, credentials, examples, frequently asked questions and desired tone.
Separate three kinds of material:
Facts: details that must remain exact, such as prices, locations and qualifications.
Evidence: examples, reviews, outcomes and external sources that support a claim.
Expression: headings, explanations and calls to action that can be drafted in different ways.
Ask the system to identify gaps before it writes. Then edit for specificity. Replace “innovative solutions tailored to your needs” with the actual service, response time or working method. Read the copy aloud and remove repetition, exaggerated certainty and phrases nobody at the business would say.
Our article on AI-generated content and SEO covers factual review, sourcing and the difference between assisted production and unattended publishing.
Step 4: choose an AI website workflow
The best route depends on who will own the result after launch. Compare the operating model, not only the generated screenshot.
Hosted AI website builder
Products such as Wix, Squarespace, Shopify, Hostinger and Webflow combine generation, editing and hosting. They reduce infrastructure work and provide established business features. The trade-off is platform dependence and a defined editor. Our AI website-builder comparison explains the different fits.
AI-assisted coding workflow
A coding agent can create a site in a framework, edit a repository and connect a deployment platform. This gives more implementation control and version history, but it also makes the operator responsible for dependencies, build configuration, secrets, testing and future patches. Generated code must be reviewed like human-written code.
Managed production workflow
A designer, developer or studio can use assisted tools internally while remaining accountable for the result. The business supplies facts and approvals; the provider owns the production details within an agreed scope. This suits an owner who wants the outcome without learning the full toolchain.
Step 5: generate the first working version
A useful prompt acts like a compact creative and technical brief. Include:
Business: what the organisation does, for whom and where.
Goal: the primary action and any secondary action.
Pages: required routes and the job of each page.
Content: approved facts, proof and visible placeholders.
Visual direction: desired character, existing colours, typography and imagery.
Components: navigation, forms, cards, FAQs, tables or pricing sections.
Constraints: British English, accessibility, mobile behaviour, forbidden claims and excluded features.
Output: what the tool should produce now and what it should leave for review.
For example: “Create a five-page website for a Bristol electrical contractor serving homeowners and small businesses. The primary action is request a quote. Use only the supplied accreditations and service areas. Mark missing testimonials clearly. Include Home, Services, Rewiring, About and Contact. Use semantic headings, labelled forms and a calm practical visual style. Do not publish or add tracking.”
Generate one coherent version before requesting decorative variations. Review the information hierarchy first. There is little value in refining colours if the page leads with a vague slogan and hides the service behind three screens of imagery.
Step 6: add images and brand assets responsibly
Use the real logo files, approved colours and typefaces the business has the right to use. Prefer authentic photographs when premises, people, products or completed work are part of the proof. Generated images can support conceptual topics, but should not fabricate staff, customer results or projects.
Record the source and rights for every uploaded asset. Export photographs at sensible dimensions, use modern formats where supported and avoid placing essential words inside images. Large original files can make an otherwise simple page slow.
Alternative text depends on purpose. The W3C images tutorial advises that informative images need a text alternative conveying their essential information, while purely decorative images should use an empty alternative. A linked image should describe the action, not just its appearance.
Step 7: refine accessibility and responsive behaviour
Resize the actual rendered site. Check narrow phones, larger phones, tablets and wide desktops. Look for clipped navigation, headings that consume the whole screen, horizontal scrolling, tiny tap targets, awkward card stacks and media that changes the layout after loading.
Then use the keyboard. The focus indicator should remain visible, the order should follow the page, menus and dialogs should be operable, and form errors should be explained in text. Check heading order, landmarks, labels, colour contrast, zoom and reduced-motion behaviour.
Automated tools catch missing labels, contrast failures and common semantic defects. They cannot judge whether instructions make sense or a call to action is understandable. The current WCAG 2.2 recommendation provides the testable standard, but human review remains necessary.
Step 8: make the site technically crawlable
Open a public page with JavaScript disabled or inspect its initial HTML response. Important copy and links should not exist only after a fragile client-side request. Google can render JavaScript, but its JavaScript SEO guidance still recommends server-side rendering or pre-rendering as a useful approach for users and crawlers.
Check each indexable page for:
one descriptive title and one visible H1;
useful meta description and canonical URL;
ordinary <a href> links to related pages;
a logical, stable URL and meaningful HTTP status;
robots rules that do not block required resources;
inclusion in an absolute-URL XML sitemap;
structured data that matches visible content;
useful 404 and permanent redirect behaviour.
A sitemap helps discovery but does not guarantee indexing. Test important pages in Search Console after launch and inspect the rendered HTML when a JavaScript-driven page is missing content.
Step 9: secure the site before deployment
Never paste a service-role key, database password or private API credential into public browser code, a prompt transcript, source file or committed environment file. Public identifiers and private secrets are different. Server-only credentials should stay in the hosting provider's protected environment and be scoped to the minimum capability.
Review dependencies, remove unused packages and confirm how updates are handled. Put authentication and authorisation checks on the server. Validate form input, limit abusive requests and avoid collecting information the business does not need. Use HTTPS, secure cookies where relevant and an established payment provider rather than handling card details yourself.
Protect domain, hosting, repository and admin accounts with multi-factor authentication. The NCSC small-organisation guide covers accounts, updates, backups and incident readiness. For code-oriented builds, OWASP's secrets guidance explains central storage, access, rotation and auditing.
Step 10: connect hosting, domain, forms and analytics
Publish to a temporary deployment first. Test the exact production build rather than assuming the editor preview is equivalent. Configure redirects, cache and security headers, then connect the custom domain through DNS. Keep the domain in an account controlled by the business, with renewal details documented.
Submit forms from the deployed site. Confirm validation, success and failure messages, spam controls, notification delivery, storage, retention and deletion. Test with a mobile connection and a realistic attachment if uploads are allowed.
Add analytics only after deciding what question it answers. Document each cookie or similar technology and implement the required consent behaviour. Current ICO cookie guidance says consent is necessary for first-party analytics cookies, even when they appear less intrusive than cross-site tracking.
Step 11: run pre-launch QA
Use a written checklist and record evidence. “Looks fine on my laptop” is not an acceptance test.
Area | Check | Evidence |
|---|---|---|
Content | Facts, prices, names, links, policies and one H1 | Approved page review |
Responsive design | Navigation, forms, tables, images and no page overflow | Mobile and desktop screenshots |
Accessibility | Keyboard, focus, labels, headings, contrast, zoom and errors | Automated report plus manual notes |
Functions | Forms, bookings, payments, login and recovery | Successful and failed test records |
Search | HTML, metadata, canonicals, sitemap, robots and status codes | Crawl output and rendered inspection |
Performance | Images, fonts, script weight and layout stability | Lab report plus later field data |
Security | Secrets, roles, dependencies, headers, MFA and backups | Configuration and recovery evidence |
Operations | Notifications, analytics consent, ownership and support route | Named owner and runbook |
Google's current Core Web Vitals cover loading, interaction and visual stability. The published thresholds are LCP within 2.5 seconds, INP at 200 milliseconds or less and CLS at 0.1 or less at the 75th percentile. A launch-day lab test is useful, but real-user field data is the stronger long-term evidence.

Step 12: launch, monitor and maintain the site
Deploy the approved commit or publish the approved builder version. Recheck the live domain, HTTPS, redirects, forms, metadata, analytics consent and error reporting. Submit the sitemap through Search Console and request inspection for the most important new pages.
Monitor form delivery, broken links, crawl errors, uptime and application exceptions. Schedule factual content reviews and software updates according to the stack. Hosted builders maintain much of their platform; the owner still maintains content, users and integrations. A code or WordPress build also needs dependency, backup and recovery processes.
Keep a rollback route. Version-controlled deployments should identify the last known-good release. Builder-based sites need a documented history or backup facility. Test recovery before an emergency rather than treating the word “backup” as proof.
DIY AI or a managed website?
Build it yourself when the site is simple, you enjoy the process and you can own the checks above. AI makes experimentation faster and can teach an attentive owner a great deal. The cash price may be low, but your time remains part of the cost.
Use a managed route when the website matters but learning design, deployment and maintenance is not the best use of your week. Elkwood uses assisted production internally, with human decisions and QA around it. The service is designed for straightforward small-business websites, not complex shops or custom applications. You can see what Elkwood includes and the published pricing before deciding.
Sources checked
Google JavaScript SEO basics, checked 26 August 2026.
Google crawlable-link guidance, checked 26 August 2026.
Google sitemap guidance, checked 26 August 2026.
Google Search guidance for generative AI features, checked 26 August 2026.
W3C Web Content Accessibility Guidelines 2.2, checked 26 August 2026.
W3C images tutorial, checked 26 August 2026.
Google Web Vitals, checked 26 August 2026.
NCSC small-organisations guide to cyber security, checked 26 August 2026.
NCSC guidance on why multi-factor authentication matters, checked 26 August 2026.
OWASP Secrets Management Cheat Sheet, checked 26 August 2026.
ICO guidance on cookies and similar technologies, checked 26 August 2026.
Quick answers
Frequently asked questions
Can AI build a complete website?
AI can generate a complete looking first version and, in some workflows, working code. A business still needs to approve facts, test interactions, configure deployment and take responsibility for the live site.
Which AI tool is best for building websites?
Wix is a strong broad DIY choice, Squarespace suits design led service sites, Shopify suits commerce and Webflow suits designer led control. A coding workflow offers more implementation freedom but also more technical responsibility.
Can AI-built websites rank on Google?
Yes. Search performance depends on usefulness, accuracy, crawlability, page experience, internal and external signals and competition, not whether AI helped produce the site. Generation alone does not create demand or authority.
Is AI-generated website code secure?
Not automatically. Treat generated code as untrusted until it is reviewed, tested and deployed with private secrets, suitable access controls and maintained dependencies. Security is an ongoing process rather than a property of the prompt.
Do I still need hosting and a domain?
Yes. A hosted builder bundles hosting, while a code based workflow needs a deployment provider. The custom domain is the public address and should remain in an account controlled by the business.
What should I check before publishing?
Check factual content, mobile layout, keyboard use, forms, metadata, crawlable links, status codes, performance, secrets, account security, analytics consent, backups and ownership. Test the deployed version on the real production configuration.